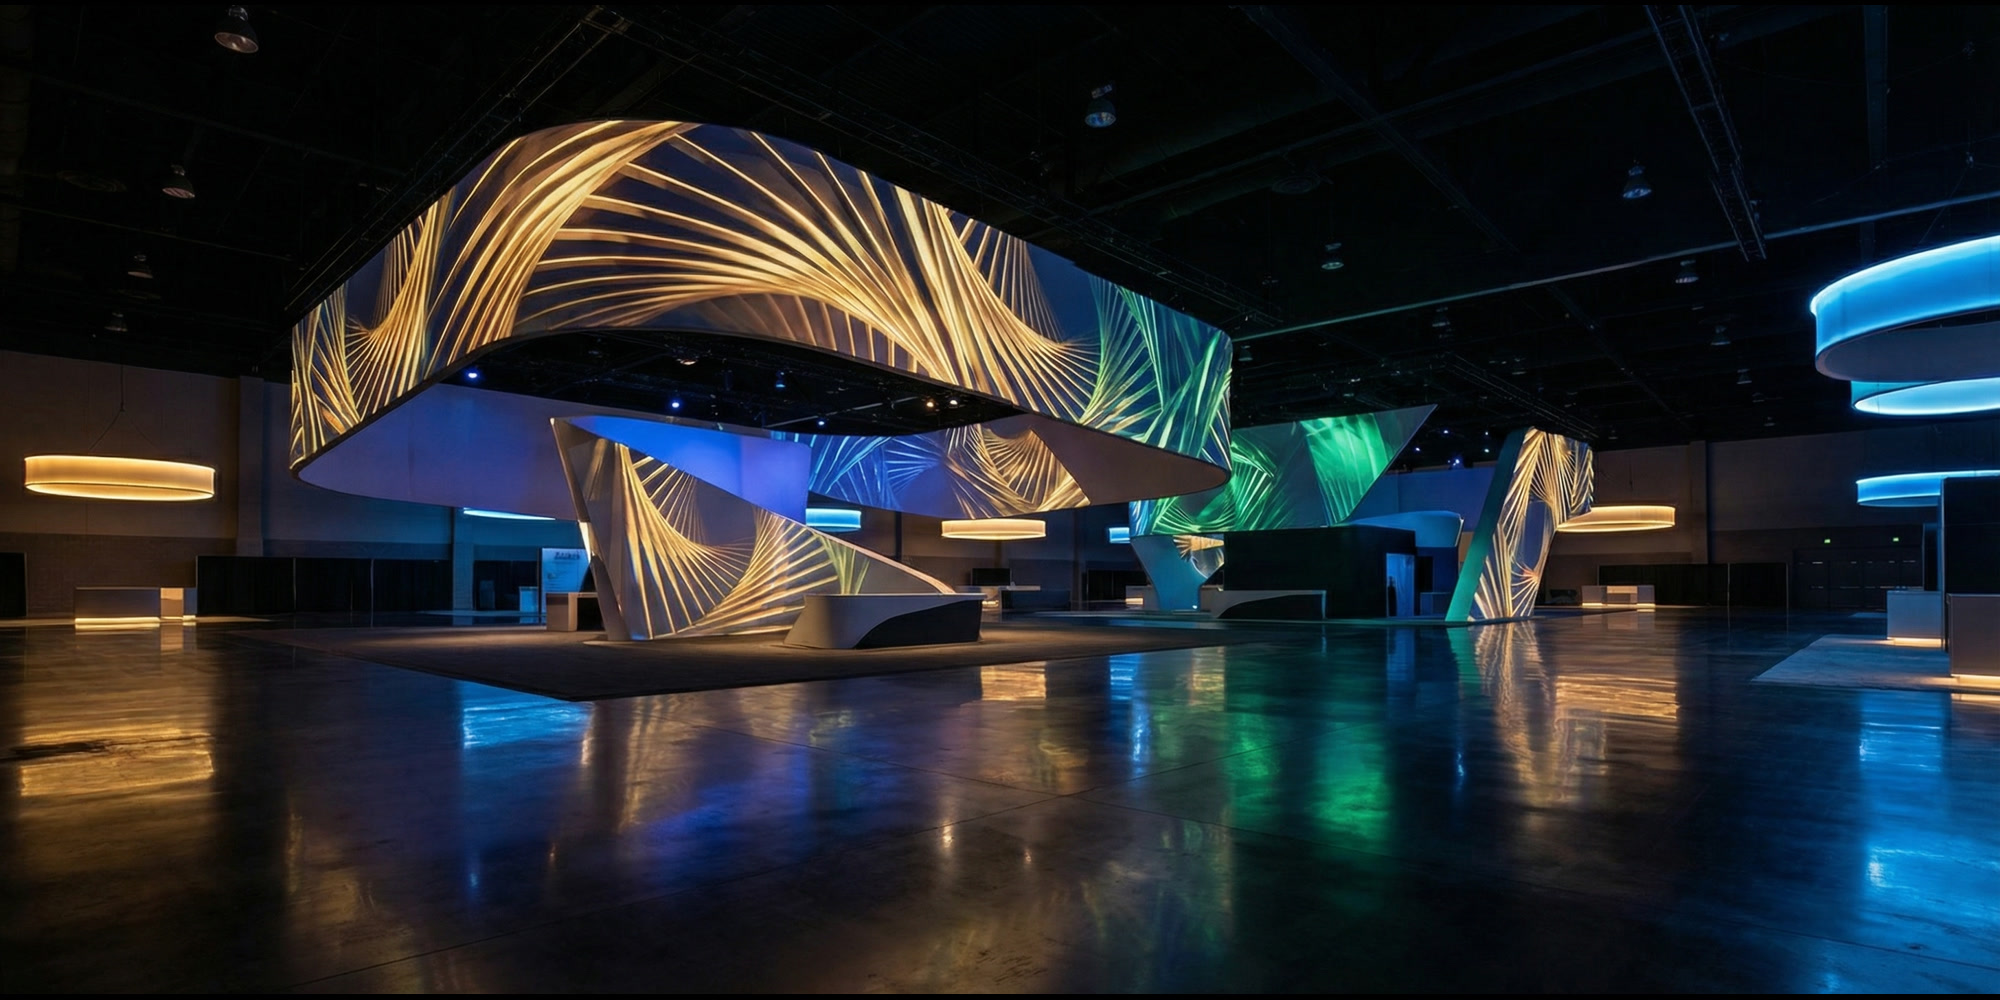
Brand reveals mapped onto three-dimensional exhibit structures. Animated product sequences projected across curved scenic walls. Attendee-responsive light shows timed to motion triggers on the show floor. Projection mapping has arrived as a mainstream trade show technology — and exhibitors paying for it are paying premium prices for fabricators who can actually build structures that make it work.
The gap between the effect and the build brief is wide, and mostly invisible to clients. Projection mapping looks magical in a client presentation deck. On the show floor, it either works — vivid, sharp, registered to the surface geometry — or it doesn't. When it fails, the failure is spectacular: ghosted edges, washed-out color, calibration drift between setup and showtime, projector placement that fights with the booth footprint. The failures nearly always trace back to fabrication decisions made weeks or months before the show.
This is the fabrication-angle guide to projection mapping: distinct from LED wall integration, which covers flat-panel video with its own structural and electrical requirements. Projection mapping is a different technology with different constraints, and exhibit fabricators who understand those constraints are operating at a level of technical service that generic shops cannot match.
What Projection Mapping Actually Requires from the Structure
The single most important principle: the mapped surface must be rigid, stable, and dimensionally reproducible between the calibration session and the show floor installation. Projection mapping works by aligning digital content to the exact geometry of a physical surface. If that geometry shifts — even fractionally — the alignment breaks.
Materials that support successful projection mapping applications include hard-coated EPS or HDU foam sealed against flex, fiberglass-reinforced forms, and rigid metal-framed structures with mechanically fastened cladding panels. The common thread is dimensional stability: surfaces that maintain their geometry under their own weight, under ambient humidity change, and under the minor thermal cycling of a convention hall environment.
Materials that fail are those that deflect under load or change shape between environments. Unsupported stretched fabric: out. Lightweight open-cell foam without hard coat: out. Any cladding panel that's adhesive-bonded without mechanical support and that can telegraph the thermal expansion of its substrate: out. The fabricator who reviews a projection mapping brief and identifies surface stability requirements early is the fabricator who doesn't get a call at 6 a.m. on setup day.
Shops like Innovate 3D — which works across CNC-routed structures, large-format 3D-printed scenic elements, and hybrid foam builds — routinely engineer projection-ready surface geometry into exhibit structures. The discipline is the same whether the output is a product display pedestal or a full-wall mapped architectural element: achieve perfect geometry, lock it structurally, and document the 3D coordinates for the AV team.
The Throw Ratio Calculation Every Fabricator Should Know
Throw ratio is the projector's fundamental specification for booth planning: it defines the relationship between the distance from the projector to the surface and the width of the image produced. The formula is simple — throw distance divided by image width equals throw ratio. A 1.8:1 throw ratio projector placed 18 feet from a surface produces a 10-foot-wide image. A 0.25:1 ultra-short-throw projector placed 18 inches from a surface produces a comparable image.
Standard-throw projectors (throw ratios of 1.5 to 2.0) require substantial depth between the projector position and the mapped surface — depth that often conflicts with the tight footprints of trade show exhibits. Ultra-short-throw projectors (throw ratios below 0.3) can mount directly at the base of a surface and project upward, or sit on a shelf 18 inches from a wall and produce a large image. The selection depends on the available geometry of the exhibit footprint.
The fabricator who confirms projector selection against available throw distance during the design phase is preventing a show-floor crisis. The alternative — arriving at setup day to discover that the specified projector requires eight feet of throw distance and the exhibit footprint offers four — generates the kind of emergency re-engineering that damages client relationships and erases project margins.
"The fabricator who convenes the three-party coordination call during design phase prevents the show-floor crisis that plagues roughly 30% of projection mapping installations."
Surface Geometry and Paint Specification for Projection
The paint specification for a projection-mapped surface is fundamentally different from the standard exhibit finish spec — and it must be communicated explicitly during the finishing phase, before any topcoat is applied.
Projection surfaces require a matte white or near-white topcoat with a light reflectance value (LRV) of 85 or higher. High-gloss finishes create hotspots — intense specular reflections that appear as bright blobs in the projected image and cannot be corrected in software. Dark surfaces absorb lumens; a projector that produces a vivid 2,000-lumen image on a white surface produces a muddy, low-contrast image on a charcoal finish. Textured surfaces — brushed concrete effects, embossed patterns, dimensional texture — break up fine detail at close viewing distances and create shadow geometry that fights the projected content.
Exhibit finishing teams that work routinely with AV integration understand this. Shops that treat projection-mapped surfaces the same as any other painted exhibit surface create problems that aren't discovered until the projector is on and the content is live. The finish spec is a technical document, not a style preference — it should read "Matte white topcoat, minimum 85 LRV, smooth finish, no texture" and be signed off by the AV integrator before the finishing crew picks up a spray gun.
Engineering Rigid, Coordinate-Locked Projector Mount Points
A projector mounted to overhead truss, a structural element inside a scenic piece, or a rear-floor enclosure requires a rigid mount point with documented 3D coordinates. These coordinates must be transferred — in writing, in a format the AV integrator can use — before calibration begins. A projector that shifts between the calibration session and the show-floor open is effectively unusable: the content mapping breaks, and recalibrating live on the show floor with attendees present is a crisis scenario, not a standard setup procedure.
The structural engineering of projector mount points needs to account for the full hanging weight: projector body, mount hardware, and cable management. For overhead truss elements, this means the projector load must be included in the truss load calculations submitted to show management — often a requirement for large exhibits with overhead hanging structures. A missed load spec is a compliance issue, not just a structural one.
Mount hardware should be specified for zero-play adjustment: the ability to fine-tune projector angle and position during calibration, then lock definitively. Pan-tilt mounts with locking mechanisms are the standard tool; they allow the calibration technician to dial in the projection geometry and then confirm it's mechanically locked before leaving the floor.
Ambient Light Control: The Make-or-Break Factor
A 10,000-lumen projector on a six-foot surface in a shielded exhibit environment produces a vivid, saturated image. The same projector, on an open-perimeter surface in a 100-foot-candle convention hall, washes out. Ambient light is the parameter that determines whether a projection mapping installation is a showstopper or an embarrassment — and ambient light management is a fabrication problem, not an AV problem.
The fabrication solutions are physical: overhead roof elements and side-wall panels that block convention hall ambient light from reaching the mapped surface; exhibit rooms or enclosed bays where the mapped surface is shielded on three sides; product reveal chambers where projection is used for a scheduled unveiling sequence with controlled light conditions for the duration of the reveal.
The fabrication disciplines required for ambient light management — structural overhead elements, enclosed architectural rooms, precision-fitted side panels — are exactly the kind of complex scenic construction where exhibit fabricators add value over general contractors. The light-controlled exhibit environment isn't just an AV accommodation; it's a design differentiator that creates a fundamentally different attendee experience than an open-perimeter display.
When full enclosure isn't feasible, projector brightness becomes the variable. Projector brightness calculators let fabricators and AV teams estimate the minimum lumen output needed to achieve a given contrast ratio at a given ambient light level. Running this calculation during the design phase — not on setup day — determines whether the client's projector spec is adequate for their exhibit environment.
Three-Party Coordination: The Discipline That Separates Good Installations from Disasters
Projection mapping installations involve three parties that typically work sequentially: the exhibit fabricator builds the structure, then hands it to the AV integrator, who hands calibration data to the content creator. The problem with sequential handoffs is that each party is making assumptions about the others' deliverables — assumptions that are often wrong, and that produce conflicts discovered only at show setup.
The correct model is simultaneous coordination, convened by the exhibit fabricator, beginning during the design phase. The fabricator delivers exact 3D geometry — a model or measured drawing with surface coordinates — to the content creator. The AV integrator confirms projector model selection, mount position, and throw distance calculation against the fabricator's geometry. The content creator produces calibration files matched to the confirmed projector and surface geometry before show-floor setup begins.
The fabricator who convenes this three-party coordination call during design is the fabricator who runs clean setups. The one who treats coordination as someone else's problem is the one managing a 6 a.m. crisis call when the content doesn't fit the surface and the projector can't reach its mount point and the calibration file was built for a different throw distance.
Industry research from Trade Show Labs (February 2026) confirms that AI-powered interactive engagement and immersive projection environments are the two most-cited activation strategies for 2026. Exhibit fabricators who have built projection mapping coordination into their standard project workflow — who can hand a client a structured three-party process rather than an improvised hope — are positioned as premium technical partners in the tier of client that's writing the largest exhibit budgets.
The Fabrication Brief for Projection-Ready Structures
Exhibit designers who want to build for projection mapping should include a projection mapping brief as a formal document in the exhibit design package — not a note in the spec, not a verbal instruction during a design review, but a written technical brief that addresses surface geometry, finish specification, projector mount requirements, and ambient light strategy. The fabricator signs off on the brief. The AV integrator signs off on the brief. The content creator receives the brief. Misalignment between parties is resolved during design, not on the show floor.
The brief should include: the exact 3D geometry of every mapped surface, with dimensions and tolerances; the finish specification (matte white, minimum 85 LRV, smooth, no texture); projector mount locations with coordinates and load requirements; ambient light management strategy; and the three-party coordination schedule — who delivers what to whom, and when.
Projection mapping is among the most technically demanding activations in the exhibit industry — and among the most visually powerful when executed correctly. The fabricators who understand its physical requirements aren't just better at building exhibit structures; they're better at winning the clients who write the checks for the most ambitious activations on the show floor.